
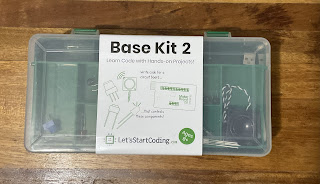
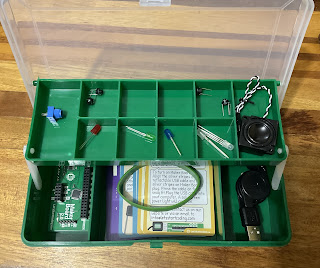
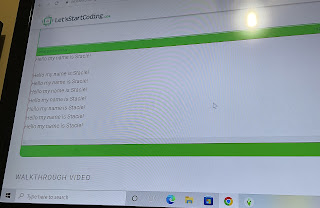
For those aspiring to introduce their progeny to the intricate world of computer science, the Let's Start Coding Base Kit serves as a remarkably sophisticated gateway. This comprehensive package provides virtually every essential component required to transform a standard computer into a laboratory of digital innovation. Upon unboxing, we were greeted with an array of tactile components, detailed reference cards, and even a commemorative wristband—a charming touch for the burgeoning engineer. While I initially attempted to "remedy" the slightly angled prongs on the components, I quickly deduced that their flexibility is a deliberate design feature. With fifty-six multifaceted projects and a series of foundational setup videos, the kit offers a hands-on immersion into the mechanics of a "Maker Board" that is both intellectually stimulating and immensely rewarding.
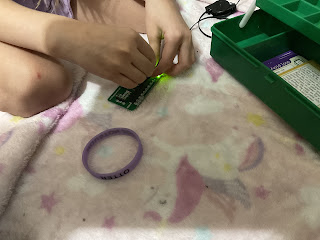


The pedagogical brilliance of this kit lies in its use of C++, the same rigorous coding language utilized by NASA’s elite engineers. It demystifies the complex cycle of editing, compiling, and executing code through a series of meticulous, step-by-step video tutorials. This ensures that even an instructor with zero prior programming experience can facilitate a successful "launch" alongside their student. Having previously provided my daughter with a few "behind-the-scenes" glimpses into my own digital troubleshooting, she approached the initial setup with palpable enthusiasm. We meticulously navigated the introductory videos, ensuring each LED and speaker was positioned with the precision of a high-stakes scientific endeavor.

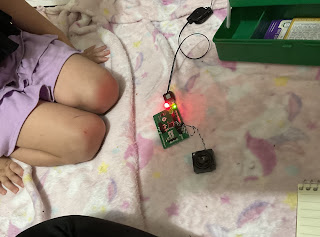
A crucial logistical "mom-hack" for the discerning educator: I strongly recommend having a pair of sunglasses within reach during your sessions. The luminosity of these LED components is genuinely startling; they are significantly more brilliant than I anticipated, and their intensity can be quite taxing on the eyes during prolonged observation. Each project provides crystalline instructions on component placement, followed by the exhilarating moment of uploading the code to activate the sensory outputs. One particularly entertaining exercise involved programming the board to "hijack" the computer’s keyboard to type pre-written messages. We naturally took the liberty of modifying the script to display humorous phrases, much to my daughter’s comedic delight.

While the physical assembly occasionally presented a fine-motor challenge for her second-grade hands, the perseverance required to seat the components into the board became a lesson in itself. Even our youngest was held in rapturous awe by the synchronized light displays and auditory effects. The experience was further enriched by a "teachable moment" when I inadvertently misplaced a component; witnessing a "bug" in real-time allowed my daughter to grasp the necessity of precision in both hardware and software. It has effectively transformed her curiosity about the "magic" of computers into a genuine interest in the engineering that powers our modern world.

This kit has been a spectacular collaborative project for her to tackle with her father, and I would definitively recommend it to any family seeking a rigorous yet accessible entry point into STEM. It transforms abstract logic into a tangible, light-flashing reality that keeps the student engaged from the first line of code to the final execution. We found this to be a standout addition to our technical studies, providing a level of depth that many "introductory" kits lack. I am curious to learn from our community of innovators—do you have a favorite resource for introducing high-level coding concepts to young children? Let us know in the comments below!


Our son has really enjoyed working with this kit. It is neat to be able to change the coding and see what happens with the lights and speaker.
ReplyDelete